Case Hardness Measurement Methods
Case hardness is a measure of the resistance of a material to surface indentation or wear. Case hardness is important in many applications, including the production of cutting tools, dies, drive components, gears, and parts that are constantly subjected to wear and abrasion.
This article reviews the typical measurement methods used and also describes processes for case depth measurement.
What is Case Hardness?
Case hardness refers to the surface hardness of a metal subjected to the case hardening. It is a measure of the resistance of the surface of a metal to penetration and, by corollary, wear.
Case hardness is usually measured using the Rockwell scale, which is a scale that uses a small diamond indenter to measure the hardness of a material by measuring the depth of the indentation it leaves.
The Rockwell scale is expressed in terms of a number followed by a letter, with higher numbers indicating a harder material. (For example, a material with a Rockwell hardness of 60 HRC is harder than a material with a Rockwell hardness of 50 HRC.)
To protect the metal from wear or other forms of surface damage, the metal object is subjected to a protection process that may include a coating step to improve corrosion performance which will increase the hardness of the outer layer. There are several methods of case hardening, including carburizing, cyaniding, nitriding, and induction hardening.
It is important to note that case hardness is not always a reliable indicator of the overall strength or performance of a material, as it only measures the resistance to surface indentation and does not consider other factors such as microstructure, toughness, or fatigue resistance.
Why Test Case Hardness?
Case hardness is especially important in applications where the component is subjected to high levels of wear and fatigue, such as in gears, bearings, rotating shafts, and cutting tools. In these applications, a component with an appropriately deep and effective case hardness will be able to withstand the stresses of use for a longer period compared to a component with a shallow or incomplete case hardness.
Case hardness is also important in applications where erosion resistance is a concern. A component with a deep and effective case hardness will be less prone to erosion compared to a component with a shallow or incomplete case hardness.
Methods to Measure Case Hardness
There are several methods used to measure case hardness, including Rockwell, Brinell, Vickers, and Knoop hardness testing. The appropriate method to use will depend on the type and depth of case hardening, the type of material being tested, and the desired level of accuracy.
In general, the depth of case hardening is typically measured in millimeters or micrometers and can range from a few micrometers to several millimeters. The hardness and microstructure of the case is very strongly affected by time, temperature, and carbon or nitrogen content of the case hardening environment.
For example:
- In carburizing, the depth of the case hardening layer can be controlled by adjusting the temperature, time, and cooling rate of the material after heating.
- In nitriding, the depth of the case hardening layer can be controlled by adjusting the temperature and time.
The depth of case hardening is typically chosen based on the specific requirements for the part and its application.
For example, if the part is subjected to high levels of wear, or high point loading, a deeper case hardening layer may be needed to provide sufficient protection. On the other hand, if the component is only subjected to moderate levels of wear, or simple sliding wear, a shallower case hardening layer may be sufficient.
A component with a deep and effective case hardness will have improved wear resistance, fatigue strength, and corrosion resistance compared to a component with a shallow or incomplete case hardness.
Example of Measuring Case Depth After Heat Treatment
Following the heat treatment process, case hardness can be measured by performing a hardness test on a cross-section of the material. This can be done by preparing a sample of the material by sectioning, grinding, or polishing the sample to a suitable surface finish. The sample should then be cleaned and properly mounted for testing.
The hardness tester is then applied to the surface of the sample using a specified load and indenter. The resulting indentation depth is then measured and converted to a hardness value using a standard conversion chart or formula.
What is the Typical Case Depth Measurement Process?
- Prepare a sample of the material by sectioning, grinding, or polishing it to a suitable surface finish.
- Clean the sample and properly mount it for testing.
- Select the appropriate hardness or micro hardness testing method based on the type of material and desired level of accuracy. Options include Rockwell, Brinell, and Vickers or Knoop hardness or micro hardness testing.
- Apply the hardness tester to the surface of the sample using a specified load and indenter.
- Measure the resulting indentation depth and convert the result to a hardness value using a standard conversion chart or formula.
- Record the hardness value and compare the result to the desired specifications or to the hardness values of other materials.
The actual time it takes to complete a hardness test can vary significantly depending on the specific equipment being used and the complexity of the part being tested.
The time involved has been the major drawback in case depth measurement. The typical case depth measurement takes over an hour which can be costly.
Newly Introduced Case Depth Measurement Method -DCDM
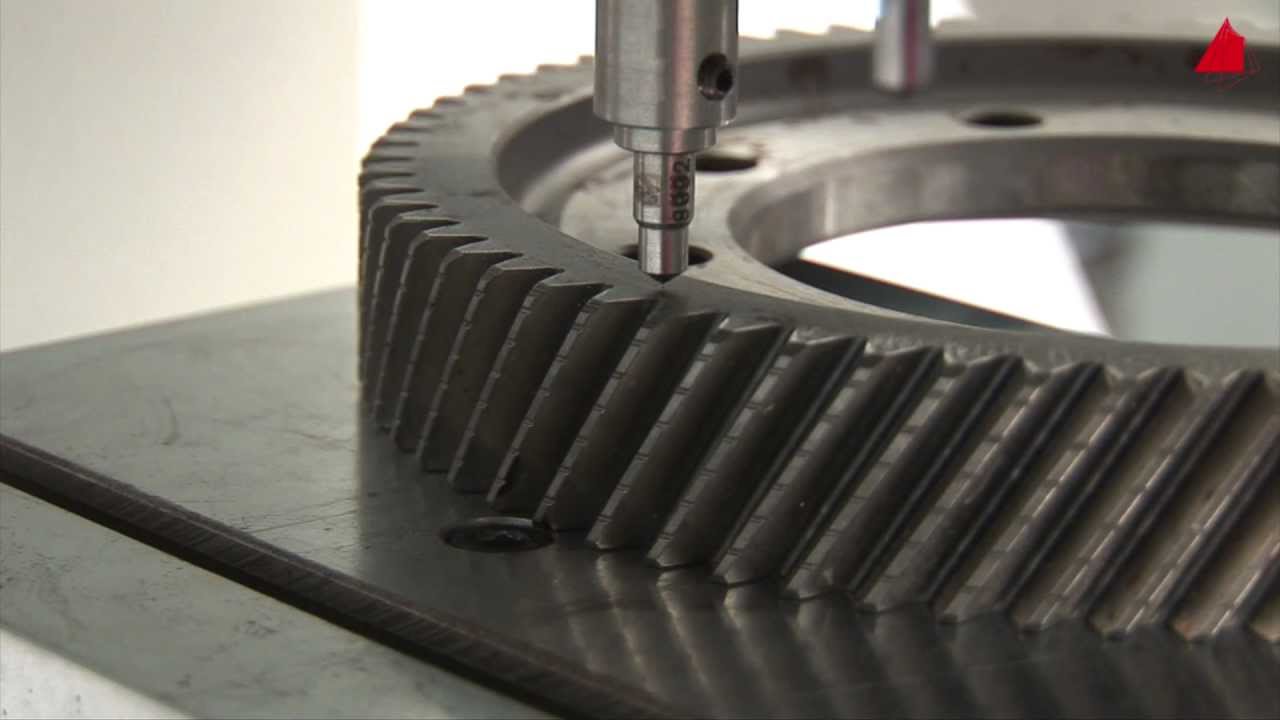
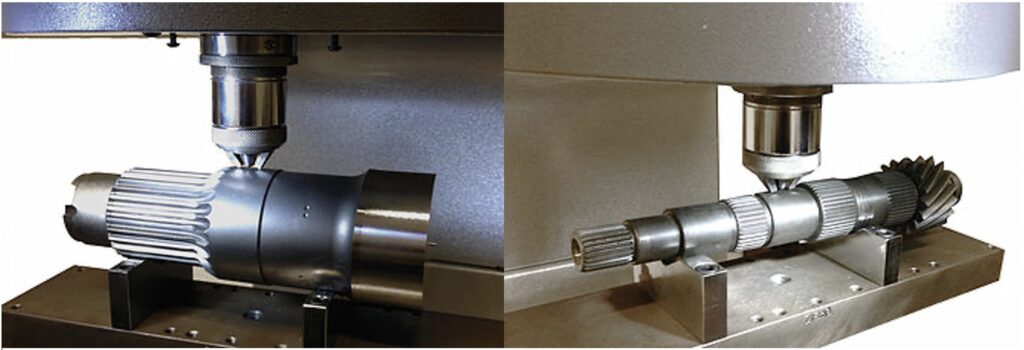
Recently a new method of measuring case depth has emerged, and users that have adopted this approach are seeing significant time and cost savings. This new measurement method DCDM (Dynamic Case Depth Measurement), involves the continual application of force to the part. This method does not require the part to be cut into a sample, polished, or mounted, and the testing can be completed in under 2 minutes.
Contrasted with the typical method of measuring case depth which can take over an hour, this new approach is a meaningful advantage and yields results that are consistent in accuracy with the more typical time-intensive testing method.
Who Should Perform Case Depth Measurements?
Case depth hardness is usually performed by trained and certified technicians who have the knowledge and skills to perform the necessary tests. Regardless of the specific setting, technicians who measure case depth hardness are typically trained to use specialized equipment, such as Rockwell hardness testers, Brinell hardness testers, or Vickers or Knoop hardness or micro hardness testers.
The technicians must also be familiar with the appropriate test methods and procedures, as well as the safety precautions that must be followed when performing hardness tests.
Keep in mind regardless of the method used, measurement of case depth should be approached with caution. It is always important to follow the equipment manufacturer’s instructions and use proper handling and safety precautions when performing a hardness test.
Choice of the Measuring Method?
Determining the proper measuring method depends on specific circumstances. Factors to consider include:
- Material to be tested
- Specifications and part use
- Desired measurement accuracy
- What is the desired depth of the case
- How hard is a case
- Equipment to be used
- Technician skills
Summary
Case hardness is used in many applications, including but not limited to Automotive for engine components, transmission parts, and other mechanical components; Aerospace for structural components such as landing gear; Military, for defense in weaponry and armor; Mining for mining equipment, such as crushers, conveyors, and other critical components and in the medical industry for a variety of medical parts.
Determining the correct case depth is critical to the performance of the part. The proper measurement of the case plays a key role in ensuring the right depth and consistency of the depth for the part.
Overall, case hardness is an important factor to consider when selecting materials and designing components for a given application, as it can have a significant impact on the performance and lifespan of the component.
More information on this new method is available without charge from King Tester Corporation. For more information, please email king@kingtester.com.
Author – James Knight


